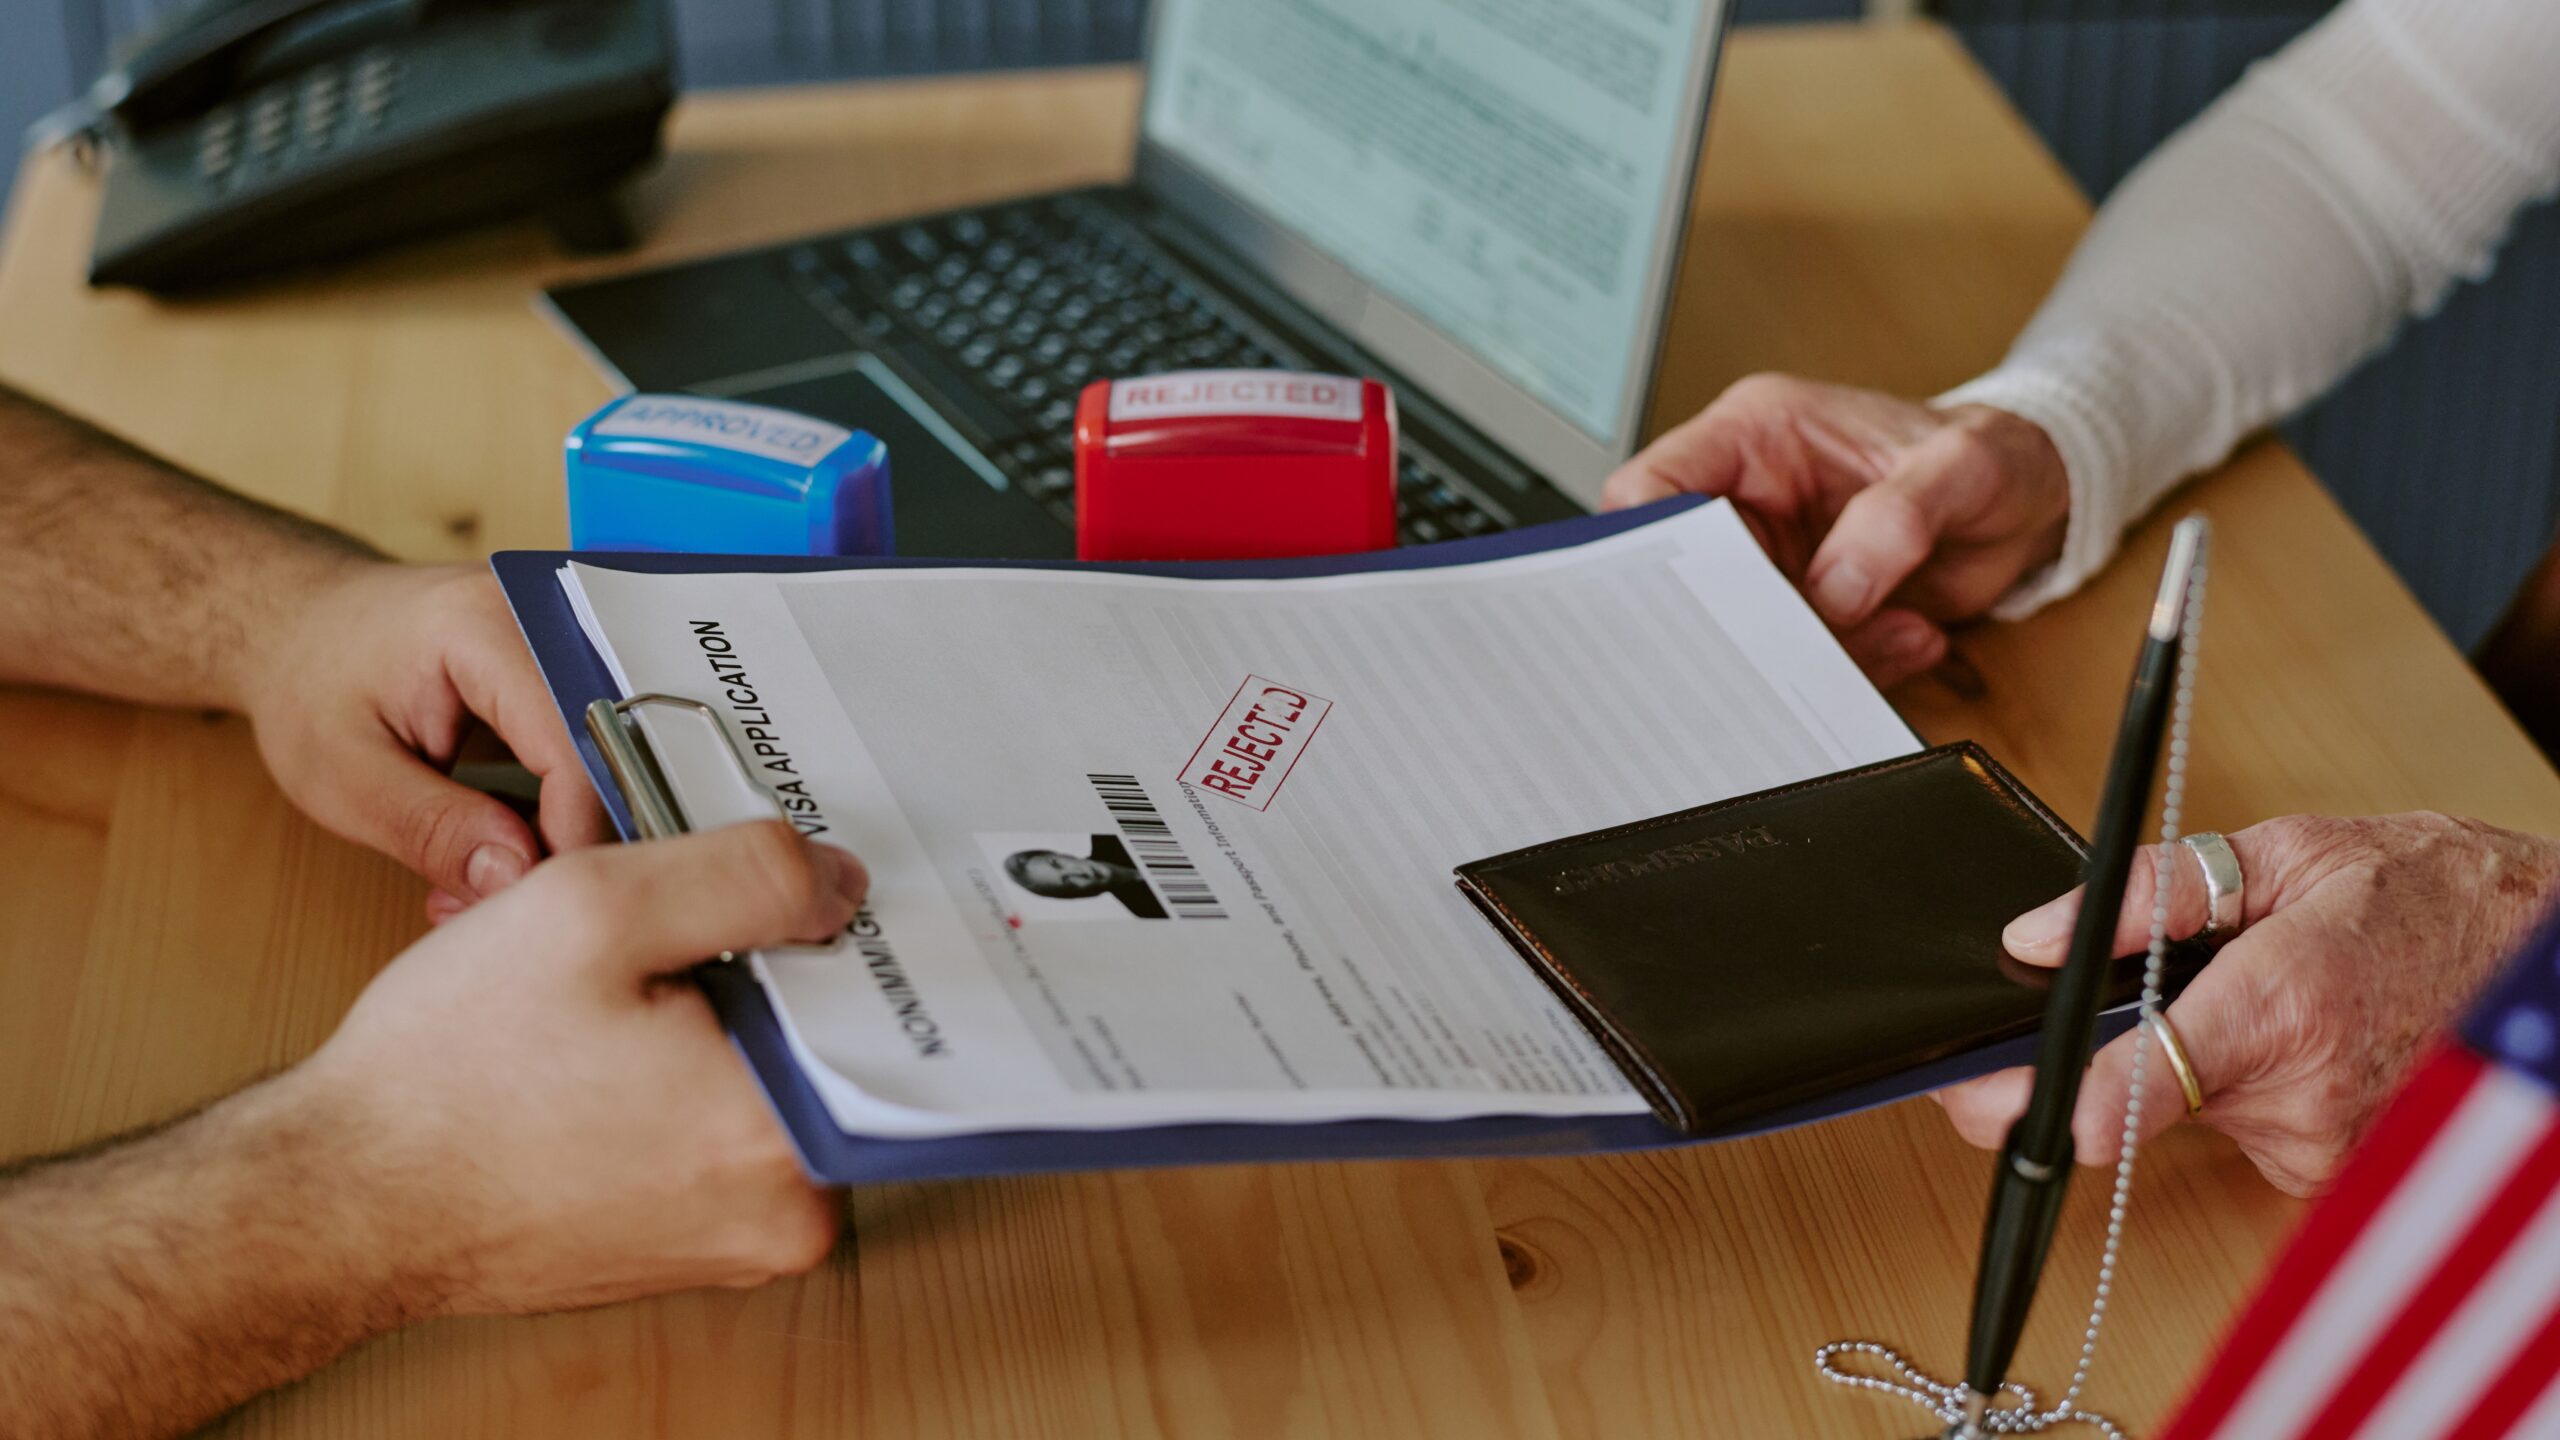
Getting a visa is already stressful enough—navigating embassy websites, deciphering confusing paperwork, standing in long queues. The last thing you want? A rejected application because of a tiny mistake in your visa photo. Sounds minor, right? But embassies are strict, and visa photos are a major reason for delays or outright rejections. So, let’s break this down. Whether you’re applying for a U.S., UK, Schengen, Canadian, or any other visa, this guide will walk you through the most common mistakes people make with their visa photos—and exactly how to dodge them.
What Makes a Visa Photo So Important Anyway?
A visa photo is much more than just a simple snapshot of your face. It serves as a critical biometric identifier used by immigration authorities to verify your identity throughout your travel process. When you arrive at a border checkpoint or apply for a visa, officials rely on that photo to match your physical features accurately. This means the image must capture your face clearly and without distortion, so the systems and personnel can confidently confirm that you are indeed the person you claim to be.
In today’s world, many countries use advanced facial recognition technology to enhance security and streamline immigration procedures. These automated systems compare your visa photo to the live image captured during entry or exit. Even minor deviations—like shadows, incorrect angles, or facial expressions—can cause errors or mismatches. Such issues might flag your profile for further manual review, which slows down your processing time and may even lead to additional scrutiny or denial.
Besides the technology, the photo also plays a key role in legal documentation. It becomes part of official government records and is used to maintain a consistent identity for you across different services and agencies. A poor-quality or incorrect photo might lead to confusion or mistakes in these records, which can cause complications beyond your travel plans, including difficulties with immigration status or future applications.
Finally, a visa photo’s importance is also tied to the strict regulations set by embassies and consulates. These institutions have very detailed requirements to ensure uniformity and reliability of identification. Failure to meet these standards often results in rejected applications or requests for resubmission, leading to frustrating delays and potential financial loss. Simply put, getting your visa photo right is a small but essential step that can make or break your entire travel experience.
Visa Photo Requirements Vary by Country
| Country | Size (inches/mm) | Background Color | Facial Expression | Age Exceptions | Additional Notes |
| USA | 2 x 2 inches | Plain white | Neutral | Under 6: some relaxed rules | Head size between 1″ and 1 3/8″ recommended |
| UK | 45 x 35 mm | Light grey or white | Neutral | Under 1 year: eyes closed allowed | Must have full face visible with no shadows |
| Canada | 50 x 70 mm | Plain white | Neutral | Under 5: some leniency | Printed photos require studio name and date on back |
| Schengen | 35 x 45 mm | Light grey or white | Neutral | Infants exempt from strict rules | Face should cover 70-80% of photo height |
| Australia | 35 x 45 mm | Plain white | Neutral | No specific exceptions | No glasses allowed unless medically necessary |
Most Common Mistakes in Visa Photos
Getting your visa photo right can feel tricky, but avoiding common mistakes can save you lots of hassle. Here’s a detailed list of the most frequent errors applicants make with their visa photos—and how to steer clear of them:
- Using an Old Photo: Visa photos must be recent, typically taken within the last six months. Using an outdated picture can cause your application to be rejected because it no longer accurately represents your current appearance. Always double-check the embassy’s requirements for photo age and take a fresh photo if needed.
- Smiling or Showing Teeth: A neutral facial expression is mandatory. Smiling, especially showing teeth, alters the natural contours of your face, which biometric systems rely on to identify you. Think of your visa photo like a mugshot—calm, serious, with lips closed and eyes open looking straight at the camera.
- Wrong Background Color: Visa photos require a plain, usually white or off-white background. Some countries accept light grey. Any patterns, shadows, textures, or objects in the background can interfere with the photo’s acceptability. Make sure your backdrop is solid and free from distractions.
- Wearing Glasses or Tinted Lenses: Glasses often cause reflections or glare that hide your eyes, and tinted lenses obscure eye details, which are crucial for identification. To avoid problems, remove all glasses unless you have a medical exemption. Sunglasses and fashion frames are strictly not allowed.
- Incorrect Photo Size and Dimensions: Visa photo size rules are extremely specific. Even a tiny difference in dimensions—sometimes as little as 1mm—can lead to rejection. Always measure carefully or use trusted visa photo apps or professional services to get the exact size and cropping.
- Wearing Uniforms or Camouflage: Many countries prohibit uniforms, especially military, police, or similar attire in visa photos. Wearing such clothes can cause your photo to be rejected or flagged for security reasons. Opt for regular, everyday clothing without logos or insignias.
- Poor Lighting or Shadows on Face: Uneven lighting, harsh shadows, or overexposure can distort your facial features and confuse facial recognition systems. Use bright but soft lighting from multiple angles to illuminate your face evenly. Natural daylight is often the best option, avoiding strong overhead lights that cast shadows under your eyes or nose.
- Head Tilt or Angled Pose: Your head must face directly forward with your chin level. Tilting your head or turning it even slightly disrupts the symmetry required for biometric matching. Keep your pose natural, straightforward, and centered.
- Hair Covering Your Face or Eyes: Your entire face needs to be clearly visible. Hair falling over your eyes, cheeks, or forehead can cause your photo to be rejected. Make sure to tuck hair behind your ears, pull it back, or style it so all key facial features are unobstructed.
- Poor Quality or Blurry Image: A photo that’s blurry, pixelated, or taken with a low-resolution camera won’t be accepted. High-quality images with sharp focus and clear details are essential. Avoid compressed files that degrade image quality, and if you’re printing, choose a professional photo print service.
Common Mistakes in Baby & Child Visa Photos
Parents know how challenging it can be to get a young child or baby to sit still and look directly at a camera, especially when the rules demand a very specific type of photo. Visa photo requirements for babies and young children do offer some flexibility compared to adult photos, but that doesn’t mean all rules are relaxed. Understanding what is allowed and what is strictly prohibited can help parents avoid frustrating delays or photo rejections when applying for visas.
Many embassies recognize that infants and toddlers can’t always comply with the standard neutral expression or perfectly centered pose. For instance, babies with their eyes closed may still have their photos accepted in some countries. Likewise, children under the age of five might be permitted to have a less rigid facial expression—like a slight smile or relaxed look—since getting a perfect neutral face is nearly impossible. Minor head tilts are often tolerated as well, acknowledging the natural movements of little ones.
However, there are clear limits to this leniency. Using toys or other props to hold the child’s attention during the photo session is generally forbidden, as these can distract from a clear, unobstructed image of the child’s face. Similarly, photos that include the hands of a parent or caretaker holding the child are not acceptable. The aim is to have a clean, distraction-free photo where only the child’s face and shoulders are visible. Backgrounds must also remain plain and free from patterns or blankets, which can create shadows or distortions.
Despite the challenges, it’s possible to get a great visa photo of your baby or toddler by preparing carefully. Ensuring a simple background, using natural lighting, and taking multiple shots to capture the right moment can make a big difference. Remember, while embassies allow some flexibility, the photo still needs to clearly identify your child with visible facial features, so striking the right balance between patience and adherence to guidelines is key.
Dos and Don’ts: Quick Reference Table
| Action | Acceptable? | Comments | Additional Notes | Common Mistakes to Avoid |
| Smile with teeth | No | Facial expression must be neutral | Smiling distorts facial features | Avoid any kind of smile or teeth showing |
| Wear headgear for fashion | No | Only religious or medical head coverings allowed | Hats, caps, and other accessories forbidden | Remove all fashion-related headgear |
| Use phone camera | Yes | Allowed if photo quality meets embassy requirements | Use a good camera and proper lighting | Blurry or low-resolution photos rejected |
| Take photo with filters | No | No digital editing or filters allowed | Photo must be natural and unaltered | Avoid brightness or color filters |
| Submit digital photo | Yes | Allowed if accepted by the embassy or visa system | Follow file size and format guidelines | Submitting wrong file type can cause rejection |
| Submit a selfie | No | Photos must be taken by another person or tripod | Selfies often have wrong angle or lighting | Avoid selfies due to improper framing |
| Crop a group photo | No | Photos must be individual, no cropping from group shots | Group photos are not acceptable | Never submit a cropped group photo |
| Wear uniforms or camouflage | No | Prohibited in most visa photos | Only everyday clothing without logos allowed | Avoid official or military attire |
| Show hands holding child | No | Not allowed in baby or child visa photos | Child’s face must be fully visible | Avoid props or hands in frame |
| Use patterned background | No | Background must be plain and uniform color | Patterns or textures cause rejection | Use solid white or light grey backdrop |
Retouching and Photoshop: A Big No-No
When submitting a visa photo, it’s crucial to avoid any form of retouching or digital editing. Visa photos must represent your true appearance without alterations because even minor changes can cause your application to be rejected. Here’s a detailed list of common editing mistakes that applicants often make but must avoid:
- Smoothing Skin: Removing wrinkles, fine lines, or skin texture to make your face appear “flawless” is not allowed. This alters your natural facial features and can lead to photo rejection.
- Adjusting Lighting Digitally: Brightening or darkening the photo after it’s taken to fix shadows or highlights changes how your face is perceived and may interfere with biometric systems.
- Whitening Teeth: Brightening or whitening your teeth through editing distorts the natural tone and can make your photo inconsistent with your real appearance.
- Removing Blemishes or Scars: Erasing moles, acne, birthmarks, or scars is considered altering your identity and is strictly prohibited.
- Changing Eye Color or Enhancing Eyes: Editing the eyes to appear brighter, larger, or differently colored can confuse identification processes.
- Using Filters: Any kind of Instagram-style filters, color overlays, or effects that modify colors or textures are forbidden.
- Blurring or Softening Edges: Applying blur effects to soften facial features or edges reduces clarity and sharpness required for identification.
- Altering Facial Structure: Editing to reshape the nose, jawline, or other facial features is a serious violation of visa photo rules.
- Removing Shadows or Highlights Manually: Trying to “clean up” shadows under the eyes, nose, or chin via photo editing is not allowed.
- Changing Background Color or Texture Digitally: The background must be uniform and plain, and digitally altering it can cause rejection.
- Cropping Improperly After Editing: Cropping should follow embassy guidelines exactly; cropping combined with editing can further raise red flags.
- Using Photo Manipulation Apps: Apps that automatically retouch or enhance photos are often unsuitable and risky for visa photo purposes.
- Overexposure or Underexposure Fixes in Software: Adjusting brightness and contrast excessively after the photo is taken may distort natural facial details.
- Removing Red-Eye Effect: While red-eye removal is common in casual photos, it’s best avoided unless specifically allowed, as it alters eye details.
- Changing Hair Color or Style Digitally: Any attempt to edit hair color or digitally add/remove hair elements violates photo guidelines.