Ever looked at those little booths in supermarkets and thought, “Surely I can do better with my phone”? You absolutely can. Thanks to high-resolution smartphone cameras, free editing apps, and cheap online printing, snapping a government-approved passport photo in your living room isn’t just possible—it’s usually faster, cheaper, and way less stressful than hunting for a booth.
Quick-Glance Compliance Checklist
When it comes to taking a passport photo at home, there are several non-negotiable rules you need to follow to avoid rejection. First off, let’s talk about size—one of the most common reasons DIY photos get turned down. Most countries require a 2 × 2 inch (51 × 51 mm) photo, but in places like India, it’s slightly different at 35 × 45 mm. The key here is precision. If you’re submitting a digital version, make sure your final crop sticks to exact pixel dimensions set by your country’s passport authority. Anything even slightly off can result in a do-over.
Then comes the background, which needs to be plain white or off-white and evenly lit. This might sound easy, but it’s surprisingly tricky. If there are any patterns, shadows, or color gradients behind you—even faint ones—your photo could be disqualified. That’s why most people hang a white bedsheet or use a large piece of poster board. Good lighting matters just as much. You’ll want to eliminate all harsh shadows by using natural light or soft lamps, ideally with a DIY reflector bouncing light back onto your face.
Next is your facial expression and head position. Passport rules almost universally require a neutral expression—no smiling, no raised eyebrows, no duck face. Just a relaxed, natural look with your mouth closed and eyes wide open. Make sure your head is perfectly straight and centered in the frame. It should be positioned so that the distance from the bottom of your chin to the top of your head measures between 1 and 1⅜ inches. Use a small piece of tape on the floor to mark where you should stand to get the distance right between you and the camera.
Finally, your outfit and file specs are just as important as everything else. Wear everyday clothes—no uniforms, bright colors, or bold patterns. A mid-tone shirt works best, helping you stand out from the white background without overexposing the shot. Avoid glasses unless explicitly allowed by your country’s rules, and remove flashy jewelry or headwear unless it’s for religious reasons. For digital submissions, export your final image as a JPEG, between 600 and 1,200 pixels square, and keep it under 240 KB in size. Compress it smartly, not excessively, so you don’t end up with a pixelated mess.
Gear You Already Own (Probably)
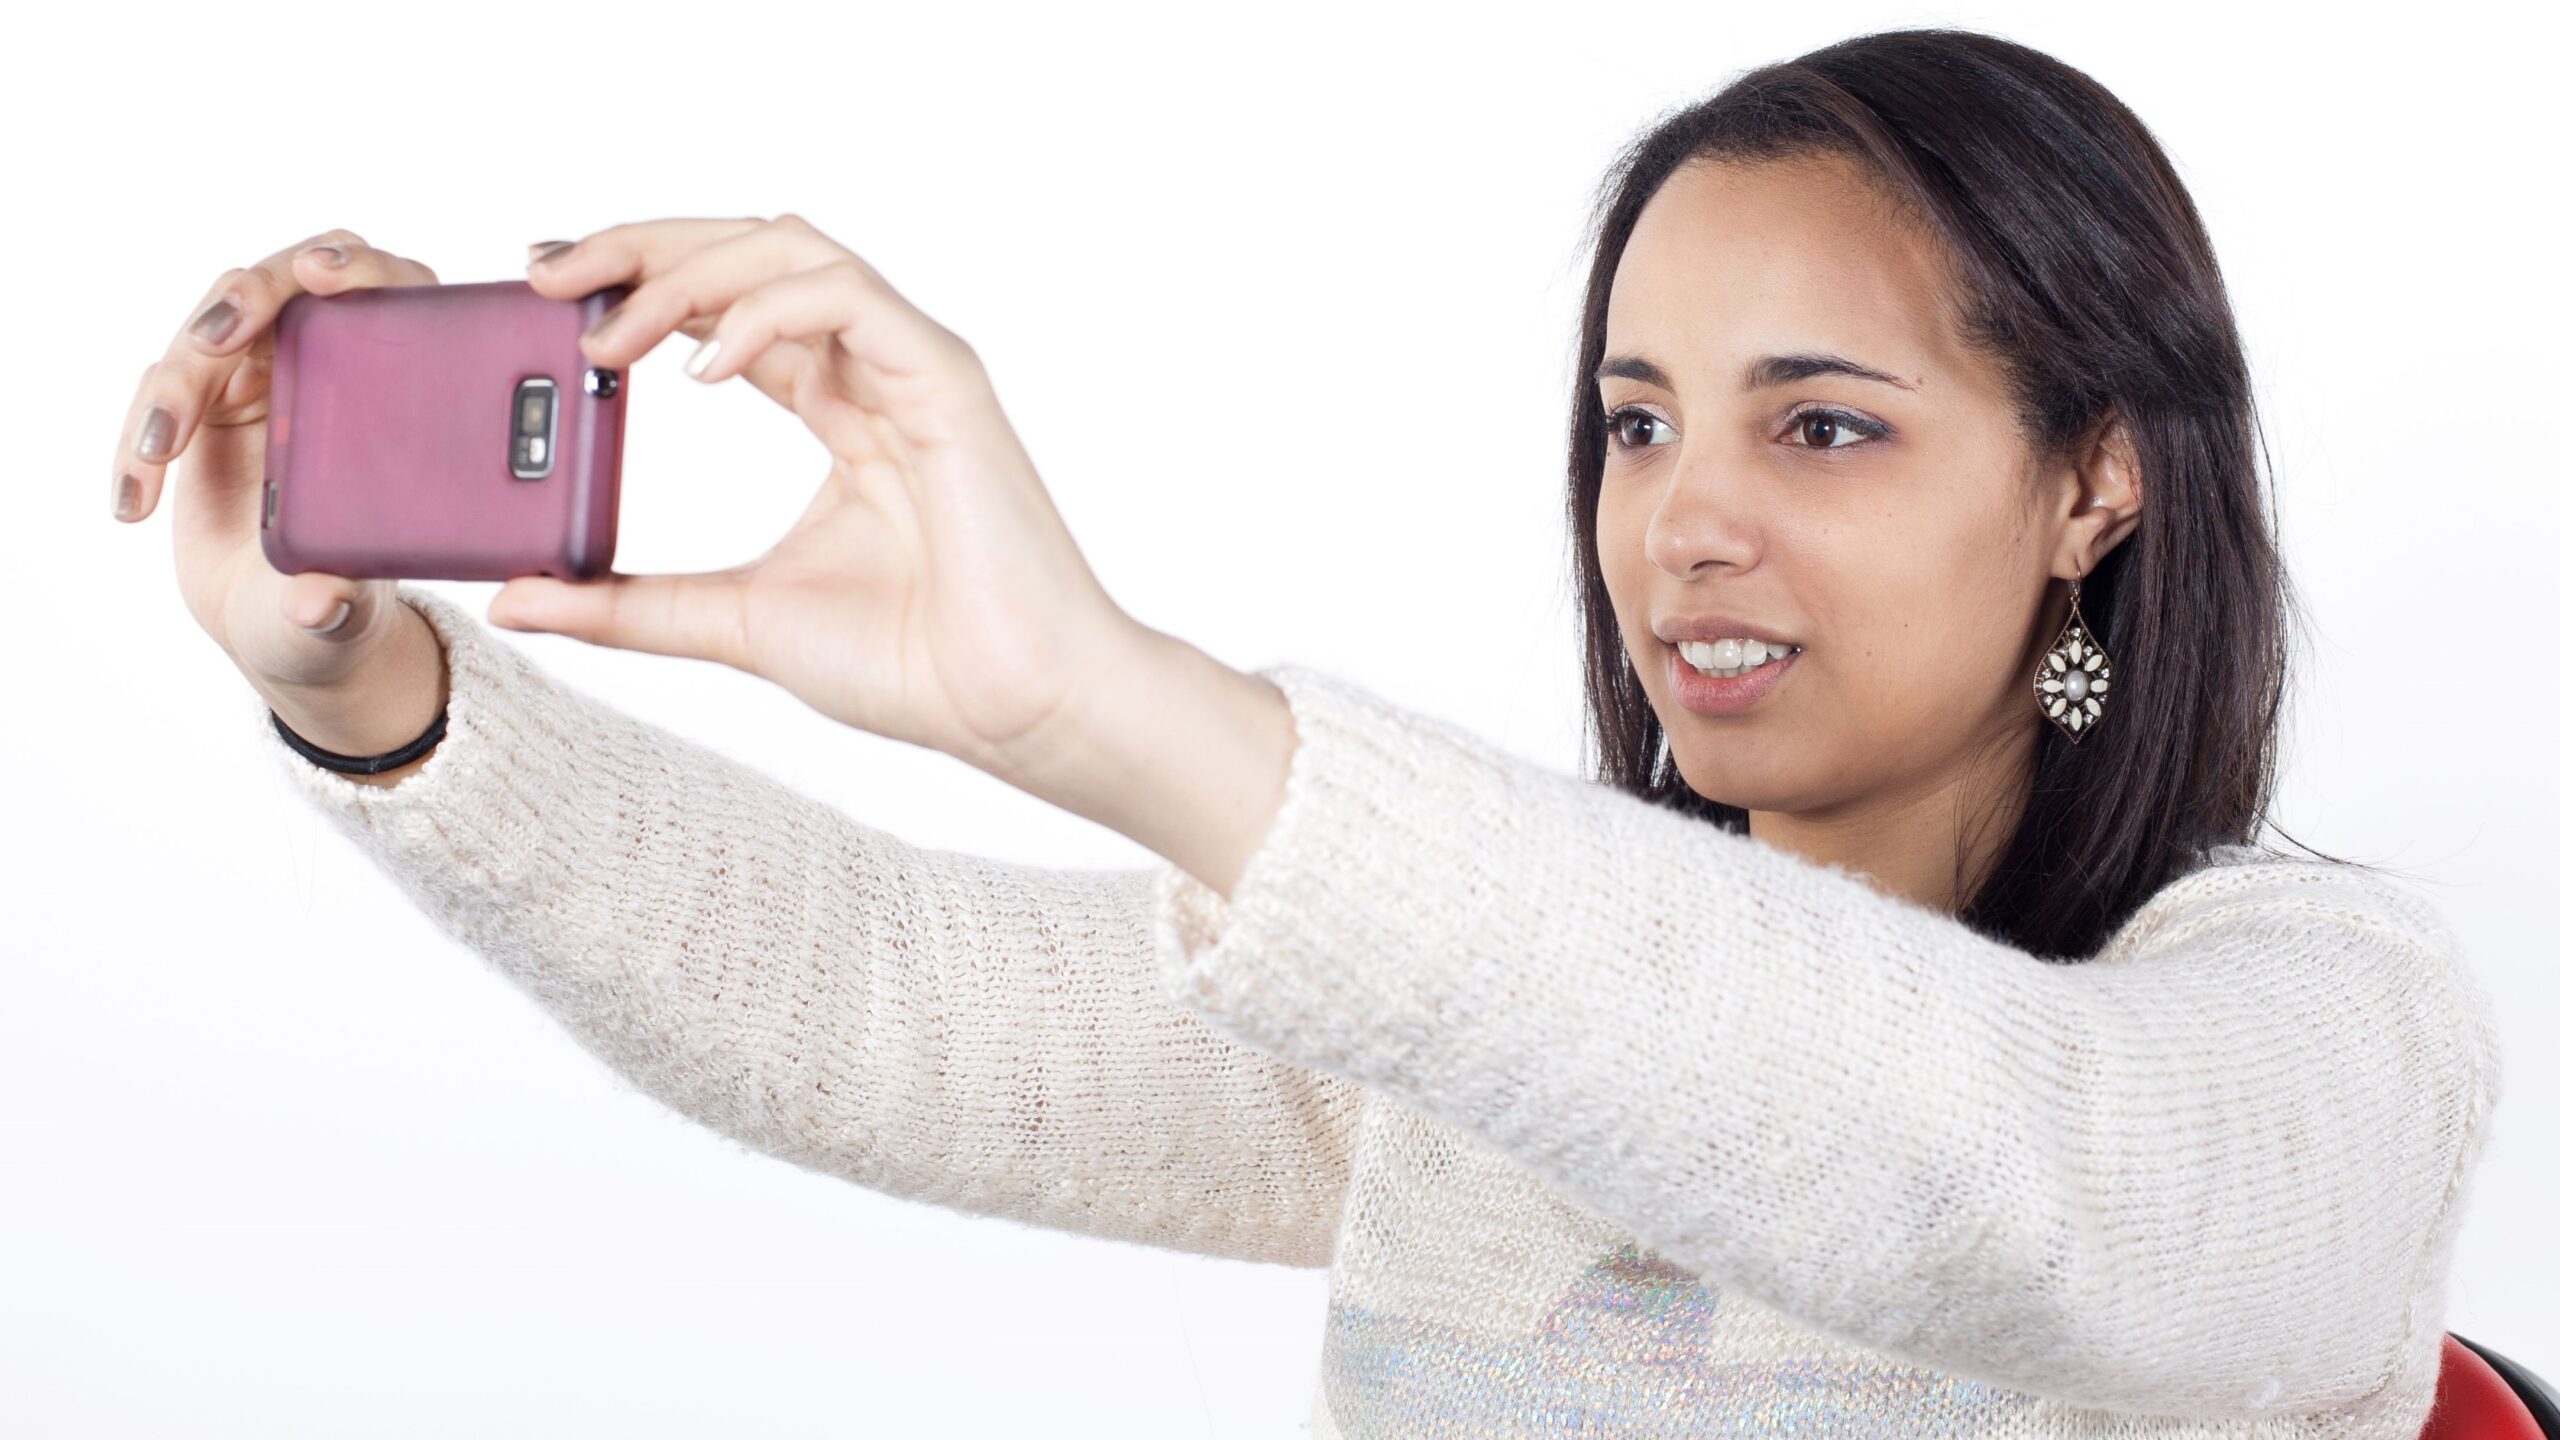
- Your Smartphone Is More Than Enough
If you own a relatively recent smartphone—say, an iPhone 12 or newer, or a flagship Android like a Samsung Galaxy or Google Pixel—you’re already equipped with a camera that’s fully capable of taking high-resolution passport photos. These phones come with 12 MP or higher sensors that deliver sharp, detailed images. The built-in software even handles exposure and color balance well, which is crucial for passport photo standards. For most people, their phone is the simplest and most efficient choice. - Professional Cameras Work Too, But Aren’t Necessary
If you have access to a DSLR or mirrorless camera, you’ll have more manual control over depth of field, exposure, and focus. These are great if you know how to use them—but they aren’t required. The truth is, unless you’re deep into photography as a hobby, using a full-blown camera might complicate what should be a simple five-minute shoot. - No Tripod? No Problem
Not everyone has a tripod lying around, but there are easy workarounds. You can stack a few hardcover books on a chair or table and place your phone on top. Make sure it’s secure and stable. Another DIY trick? Tape your phone to the wall using painter’s tape, just be gentle. If you’ve got a willing friend with steady hands, even better—just ensure they’re holding the camera at eye level to avoid awkward angles. - Make the Most of Natural Light
Lighting is everything in photography, and the same rule applies here. A north-facing window provides soft, natural light that reduces harsh shadows and helps keep the background evenly lit. It’s the perfect free solution to avoid uneven exposure or ugly color casts that come with artificial lighting. - DIY Reflectors to Boost Your Lighting Setup
You don’t need a professional photography reflector—just grab a large piece of white cardboard or even aluminum foil on a board. Position it opposite the window, just out of frame. It will bounce the incoming light back onto the shadowed side of your face, balancing out the image and giving your photo a clean, professional look. - Avoid Overhead Lighting at All Costs
Ceiling lights, especially those directly above you, can cast unflattering shadows around your eyes and chin. They can also create bright hotspots on your forehead and nose, which are hard to edit out later. For the best results, turn off all indoor lights and rely solely on diffused natural light from a window and your DIY reflector. - Use a Timer or Remote Shutter App
Whether you’re using your phone or a dedicated camera, always set a timer (3–10 seconds is ideal) so you can step into position without shaking the camera. If your phone supports remote control via a smartwatch or a paired Bluetooth shutter, that’s even better—it allows you to stay perfectly still and control the moment of the shot effortlessly.
Preparing Your Space
| Element | What to Use | Why It Matters | Common Mistakes | Smart Fixes |
| Background Setup | White bedsheet or matte poster board | Provides a clean, uniform backdrop that meets passport photo standards | Using patterned walls, wrinkled fabric, or colored surfaces | Iron the sheet, hang it tightly, and use a plain white background only |
| Camera Distance | 1.2–1.5 meters (4–5 feet) from subject | Ensures proper framing and accurate face proportions within the photo | Placing the camera too close or far; distorted head size | Measure and mark the distance using tape or a yardstick |
| Lighting Positioning | Natural light from window with reflector opposite | Helps avoid harsh shadows, overexposure, or color inconsistencies | Standing too close to the wall or facing uneven light | Use a north-facing window if possible and place a white board opposite |
| Body Position & Framing | Stand facing the light, with tape marks for guidance | Keeps the body centered and head properly aligned in every shot | Angled shoulders, tilted head, uneven posture | Use painter’s tape on the floor to lock in position every time |
| Wardrobe & Clothing | Mid-tone top (gray, pastel, soft blue) | Creates contrast between you and the white background, ensuring clear separation | Wearing white (blends in) or black (causes exposure issues) | Choose clothes with neutral tones and no distracting patterns |
Camera & App Settings
Getting your camera or smartphone settings right is one of the most overlooked—but most important—steps in taking a passport photo at home. First things first: resolution matters. You want to shoot at the highest possible resolution your device allows. Don’t worry about cropping just yet—focus on capturing a clean, well-framed shot with extra space around your head and shoulders. Once you’ve taken the photo, you can crop it down to a perfect square, usually 600 × 600 pixels or larger depending on your country’s requirements. This ensures the final image is sharp, well-sized, and won’t be flagged for poor quality when you upload or print it.
Next, think about exposure and focus control. Most smartphone cameras allow you to tap and hold on the screen to lock focus and exposure. This prevents the camera from adjusting on its own mid-shot, which often results in unpredictable lighting or soft focus. A common mistake is letting the camera overexpose your face, especially if the background is bright white. To avoid this, slightly lower the exposure so your skin tones look natural and your features remain sharp. It may feel subtle in the moment, but it makes a major difference in the final photo.
Another sneaky feature that ruins otherwise great DIY passport shots is the beauty filter. While those filters might be fun on social media, they’re completely unacceptable in passport photos. They often smooth out skin texture, whiten the eyes, and alter facial proportions—all of which are strict no-gos according to international photo standards. Make sure every filter or enhancement setting is turned off before you start shooting. Even default camera apps sometimes activate these filters without warning, so double-check your camera settings just to be safe.
If you’re using a DSLR or mirrorless camera, there are a few technical tweaks that’ll help you get studio-level results. Set your aperture around f/8 for maximum sharpness from your forehead to your chin. Keep the ISO low—between 100 and 200—to avoid noise, especially in evenly lit areas like the background. Lastly, instead of relying on automatic white balance, set a custom balance based on the white sheet or wall you’re using behind you. This locks the color tone and keeps your skin from looking too warm or cool in different lighting conditions.
Nail the Pose
- Keep a Neutral, Relaxed Expression
The perfect passport photo starts with your face—and that means mastering a neutral look. Don’t smile, frown, or raise your eyebrows too high. Instead, gently close your mouth with your lips touching and let your jaw relax. Imagine someone just told you a polite, amusing secret—that subtle, almost-smile is exactly what you’re aiming for. Your eyes should be open naturally without any squinting or wide-eyed expressions. - Stand Tall and Align Your Head Properly
Good posture can make or break your photo. Straighten your spine, roll your shoulders back slightly, and stand tall as if a string is pulling you up from the top of your head. This not only helps keep your face straight and symmetrical but also prevents your neck from looking strained or tilted. Avoid leaning forward or backward—your head should be directly aligned with your body and centered in the frame. - Keep Your Head and Eyes Level
Your eyes should be looking directly at the camera lens, not slightly up, down, or to the side. If you tend to tilt your head without realizing it, imagine you’re balancing a book on your head—it helps maintain a perfectly horizontal head position. Symmetry is key: both ears should be equally visible, and your face should be facing forward with no angles. - Skip the Glasses Unless Absolutely Required
Most countries now recommend or even require that glasses be removed for passport photos. Even if glasses are allowed, it’s very easy to get glare on the lenses or have the frames obscure part of your eyes, which could lead to your photo being rejected. If you must wear them, adjust the frames slightly downward until the reflection disappears completely and make sure your eyes are fully visible. Always double-check your country’s specific photo guidelines before deciding to keep glasses on. - Remove Jewelry, Hats, and Hair Obstructions
Keep your look simple. Take off any large or flashy earrings, necklaces, or headbands. Your face should be fully visible, with your hair brushed away from your eyes and eyebrows. Head coverings are generally not allowed unless worn daily for religious purposes, and even then, your entire face must still be visible from the bottom of your chin to the top of your forehead. - Position Yourself Correctly Within the Frame
Make sure your head is centered both vertically and horizontally in the photo. The distance from your chin to the top of your head should fall within the required range (usually 1–1⅜ inches in a 2×2 photo). Leave enough space around your head so the final image can be cropped correctly without cutting anything off. Use guidelines or a framing grid if your camera app supports it.
Step-by-Step Shooting Workflow
| Step | Action | Why It Matters | Common Mistakes | Quick Fix |
| Set Up the Camera | Position the camera at eye level, using the rear camera for best image quality | Ensures accurate face proportions and sharp detail in the final photo | Using the front camera (lower quality), angling the lens up or down | Use a stable surface or tripod, and double-check the height before shooting |
| Frame the Shot | Leave enough space around your head and shoulders for proper cropping later | Allows flexibility during editing and meets official size ratios | Framing too tightly or off-center | Enable gridlines on your camera app and align your face in the center |
| Use a Timer | Set a 3–10 second timer so you can step into position without shaking the camera | Prevents blur from camera shake and gives you time to pose naturally | Pressing the button while posing, causing camera movement | Use your phone’s built-in timer or a remote shutter if available |
| Take Multiple Photos | Capture 5 to 10 shots to ensure you get at least one perfect image | Avoids problems caused by blinking, slight tilts, or odd expressions | Taking only one or two photos and hoping for the best | Try different slight expressions and make minor pose adjustments |
| Check Sharpness at 100% Zoom | Zoom in closely to inspect facial features—especially eyelashes and pupils | Confirms image clarity and avoids rejection due to blur | Approving a slightly soft or pixelated photo | If any blur or softness is visible, delete and reshoot for a sharper result |
Editing Without Crossing the Line
Once you’ve taken your passport photo, it’s tempting to jump into editing mode and make it “just a little better.” But here’s the thing—passport authorities are strict about what you can and can’t do in post-production. You’re allowed to make some basic technical corrections, but anything that alters your natural appearance or adds visual effects is a fast track to rejection. Think of editing your photo like cleaning a mirror: you’re allowed to remove smudges, not repaint your reflection.
Legal edits include actions like cropping the image to the correct size, rotating it to straighten the frame, and resizing it to meet digital or printed specifications. You can also tweak the brightness and contrast slightly to correct exposure problems or adjust minor color casts so that your skin tone looks true-to-life. These changes help improve clarity and compliance without tampering with how you actually look.
However, the moment you start airbrushing your skin, softening facial lines, whitening your teeth, or applying digital makeup, you’ve crossed into forbidden territory. Likewise, you can’t change the shape of your face, enlarge your eyes, or tweak the symmetry of your features. Adding trendy filters, artificial backgrounds, borders, or even emojis will immediately disqualify your photo, no matter how subtle or stylish it seems.
Always remember: the purpose of a passport photo is to accurately identify you in real life. If your edited photo looks like a “better version” of you, then you’ve probably gone too far. Keep your changes limited to basic technical corrections, double-check your country’s official photo rules, and when in doubt, choose authenticity over aesthetics. A clean, sharp, and naturally lit photo—free of retouching—will always be the safest bet.
